
Well this one was a long time coming. I’d been wanting to scan my nose cone for ages. Mainly with the intention of modeling and printing a “bracket” for the number plate – which flaps around a bit on its velcro mount.
But the first thing to do was get a scan.
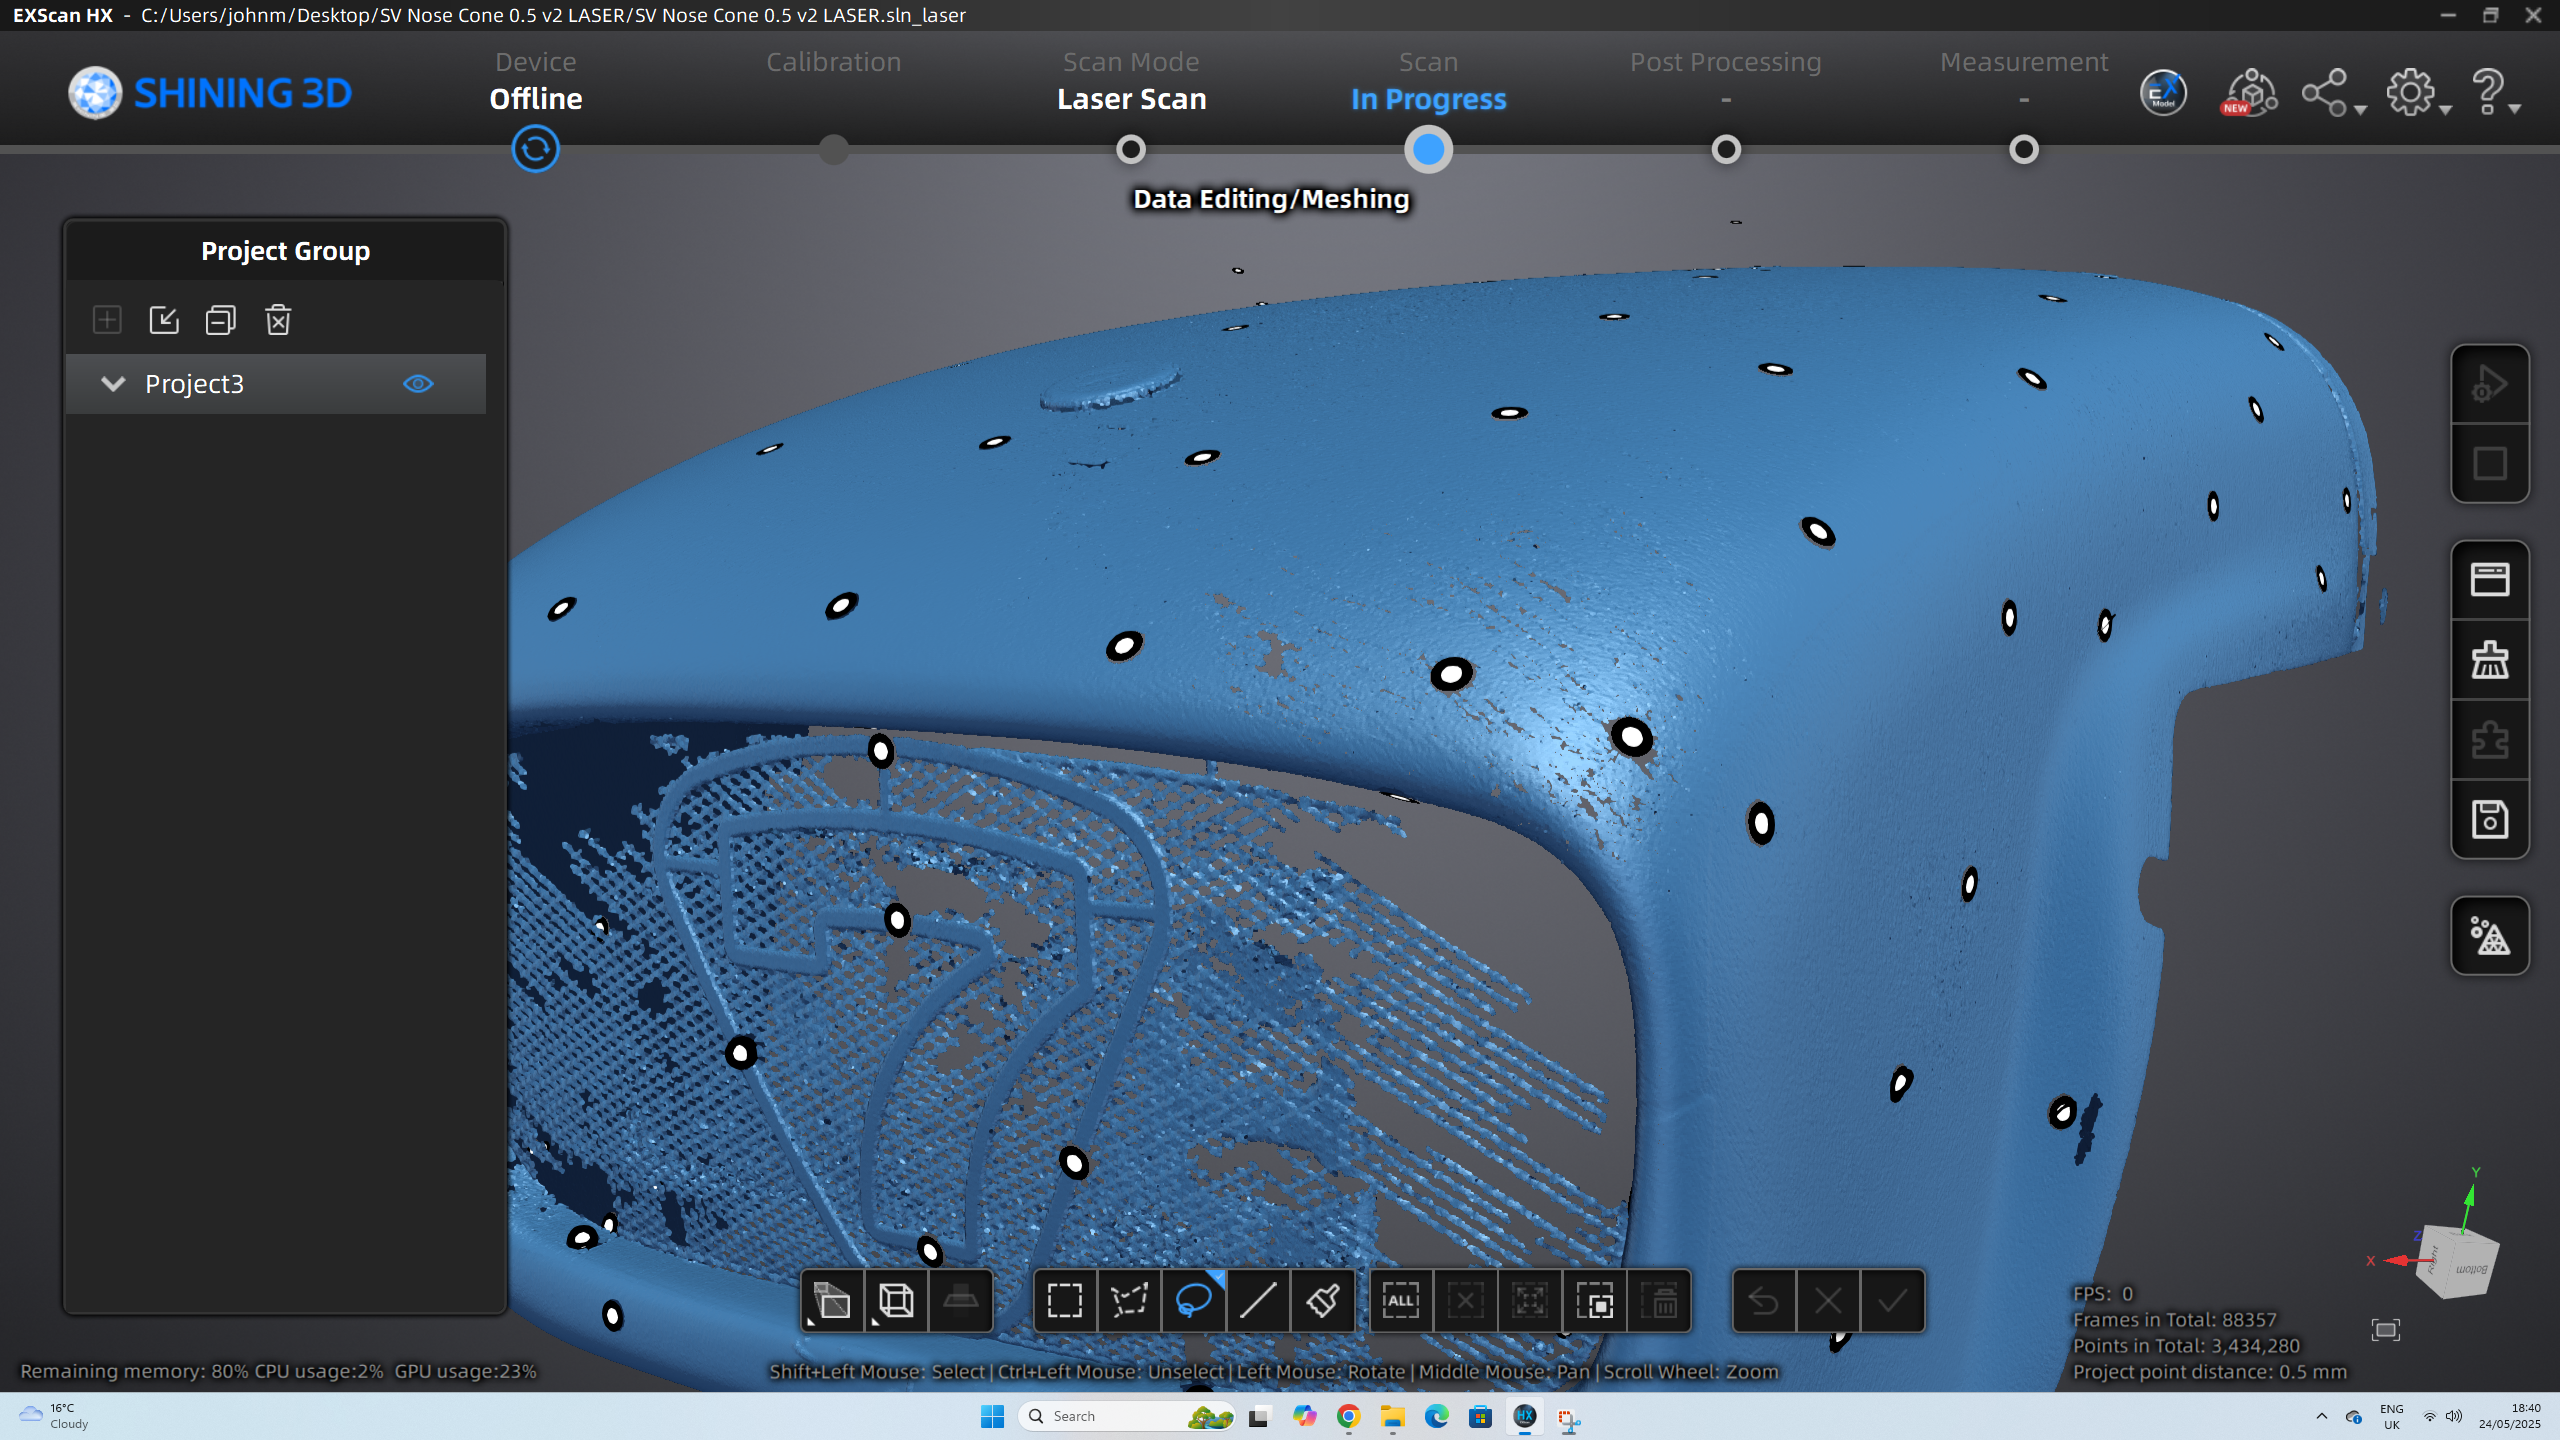
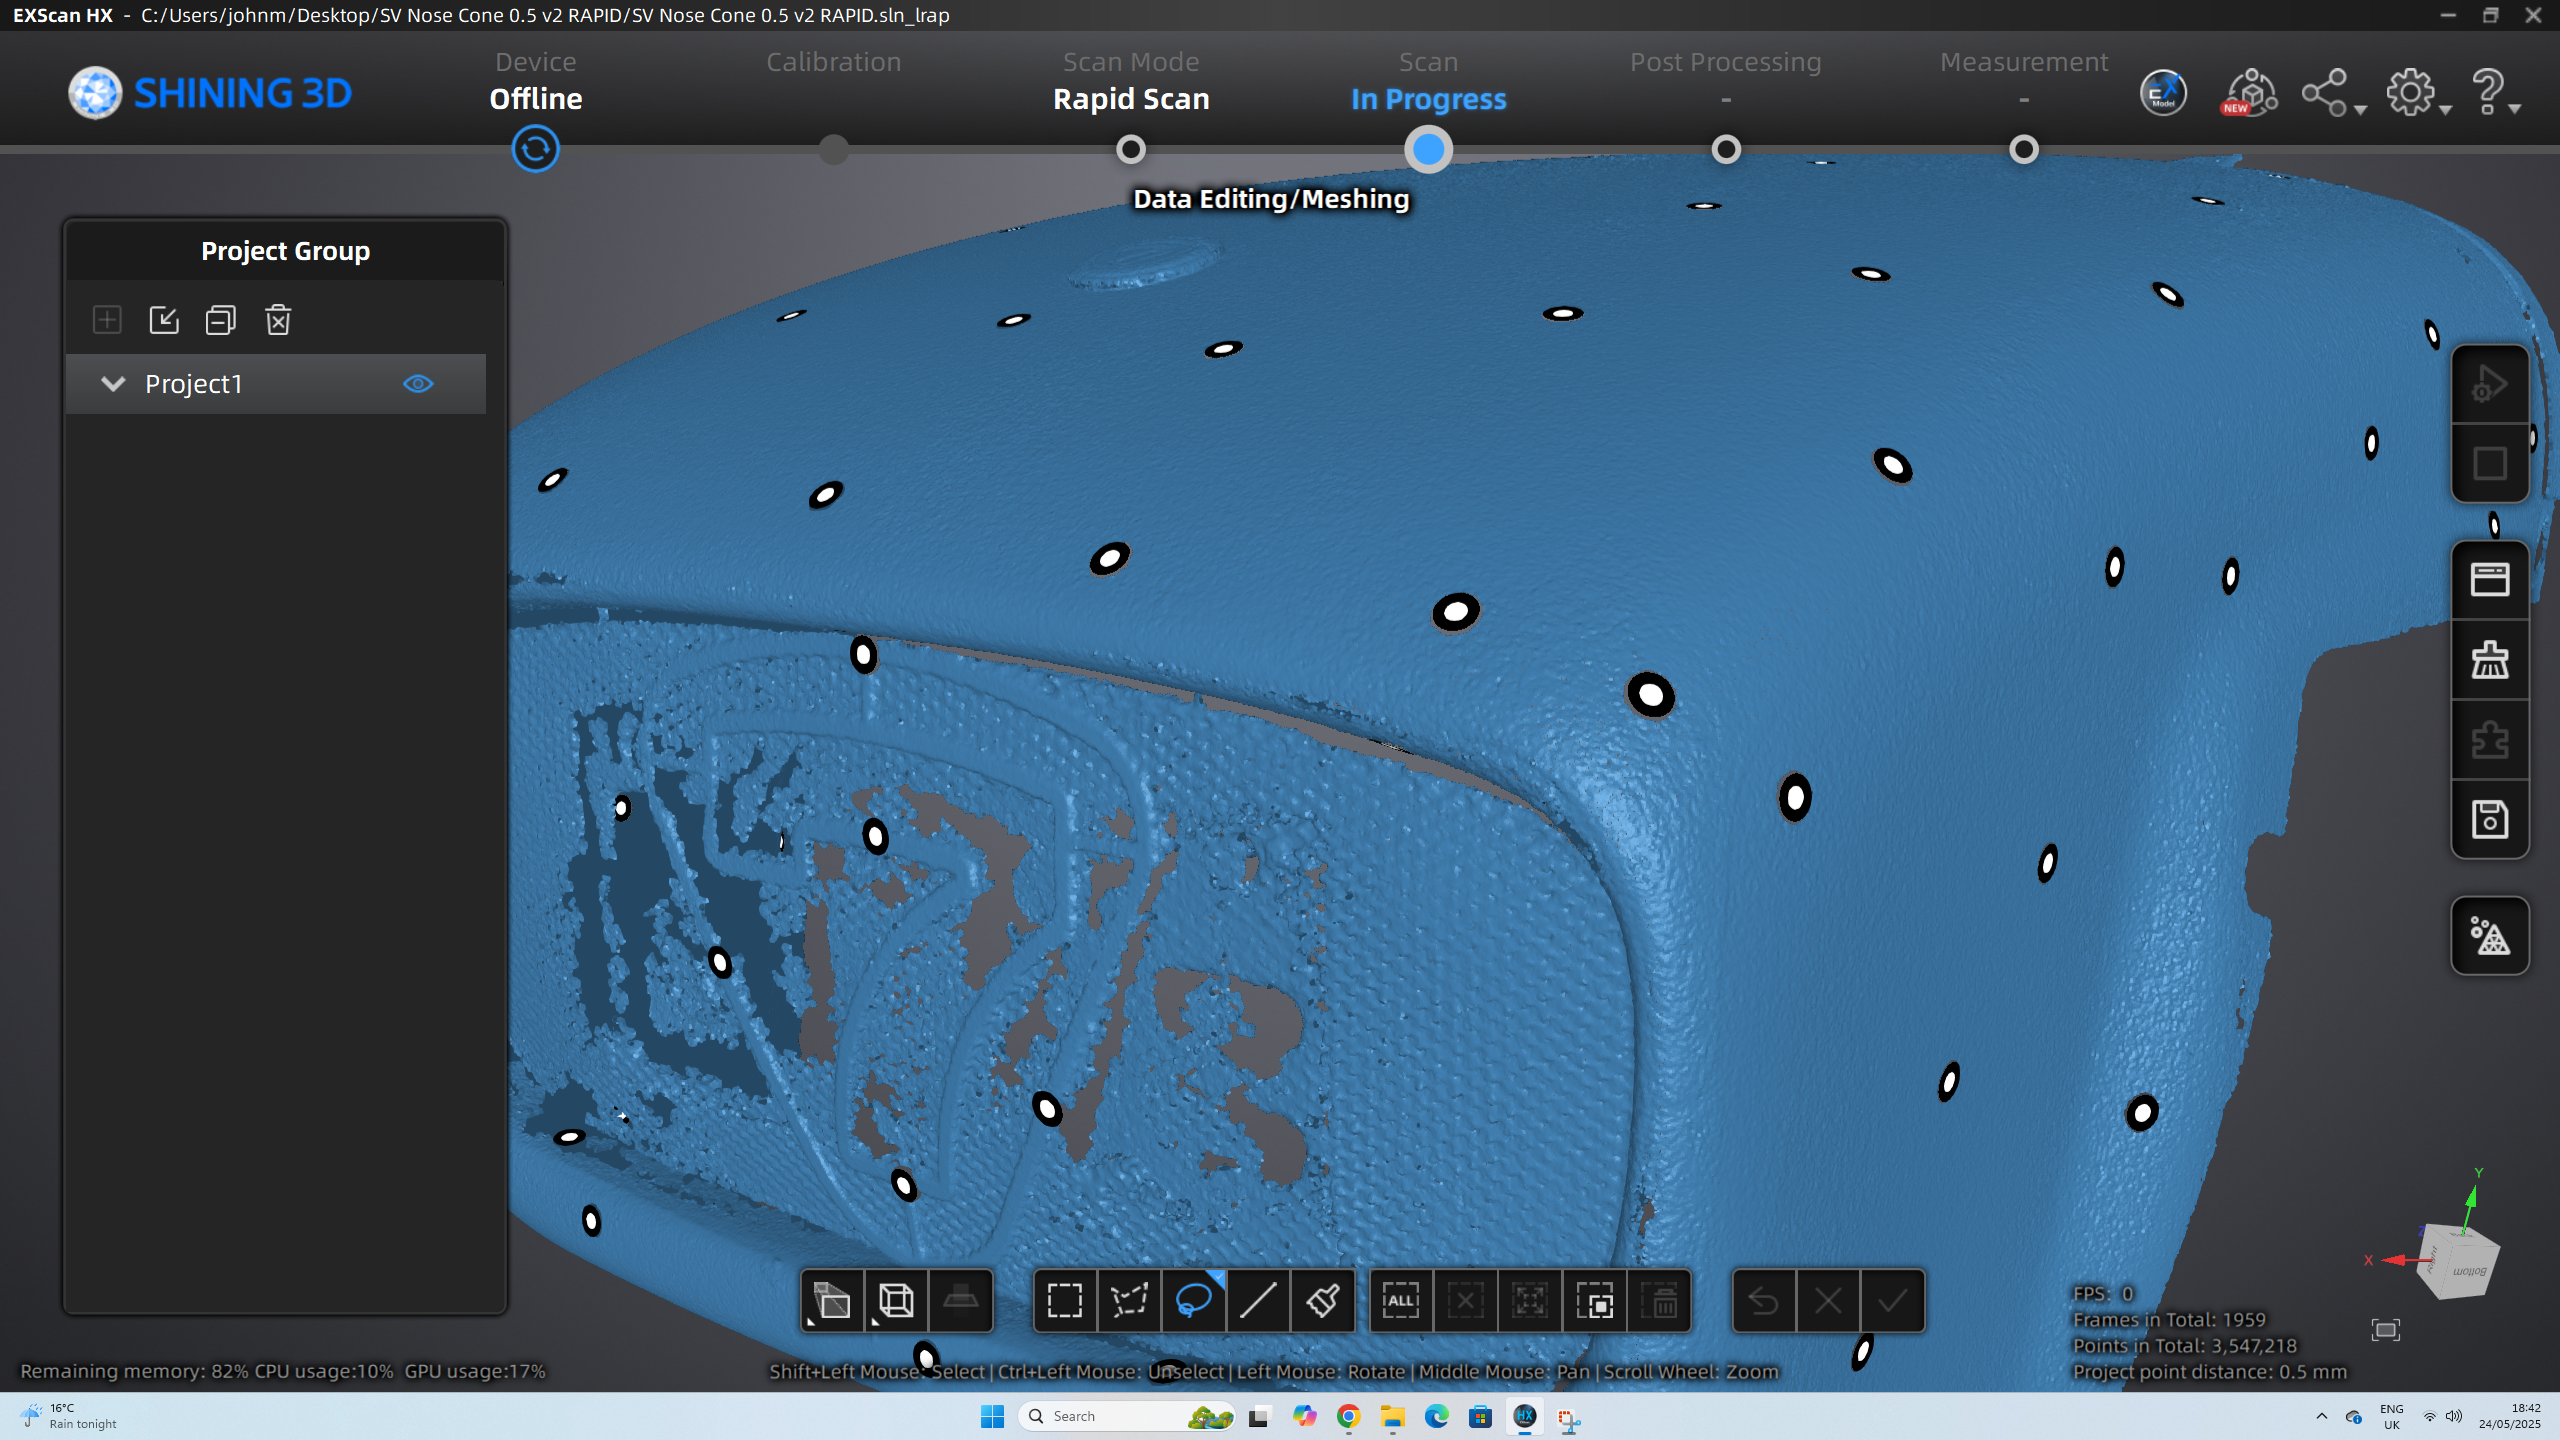
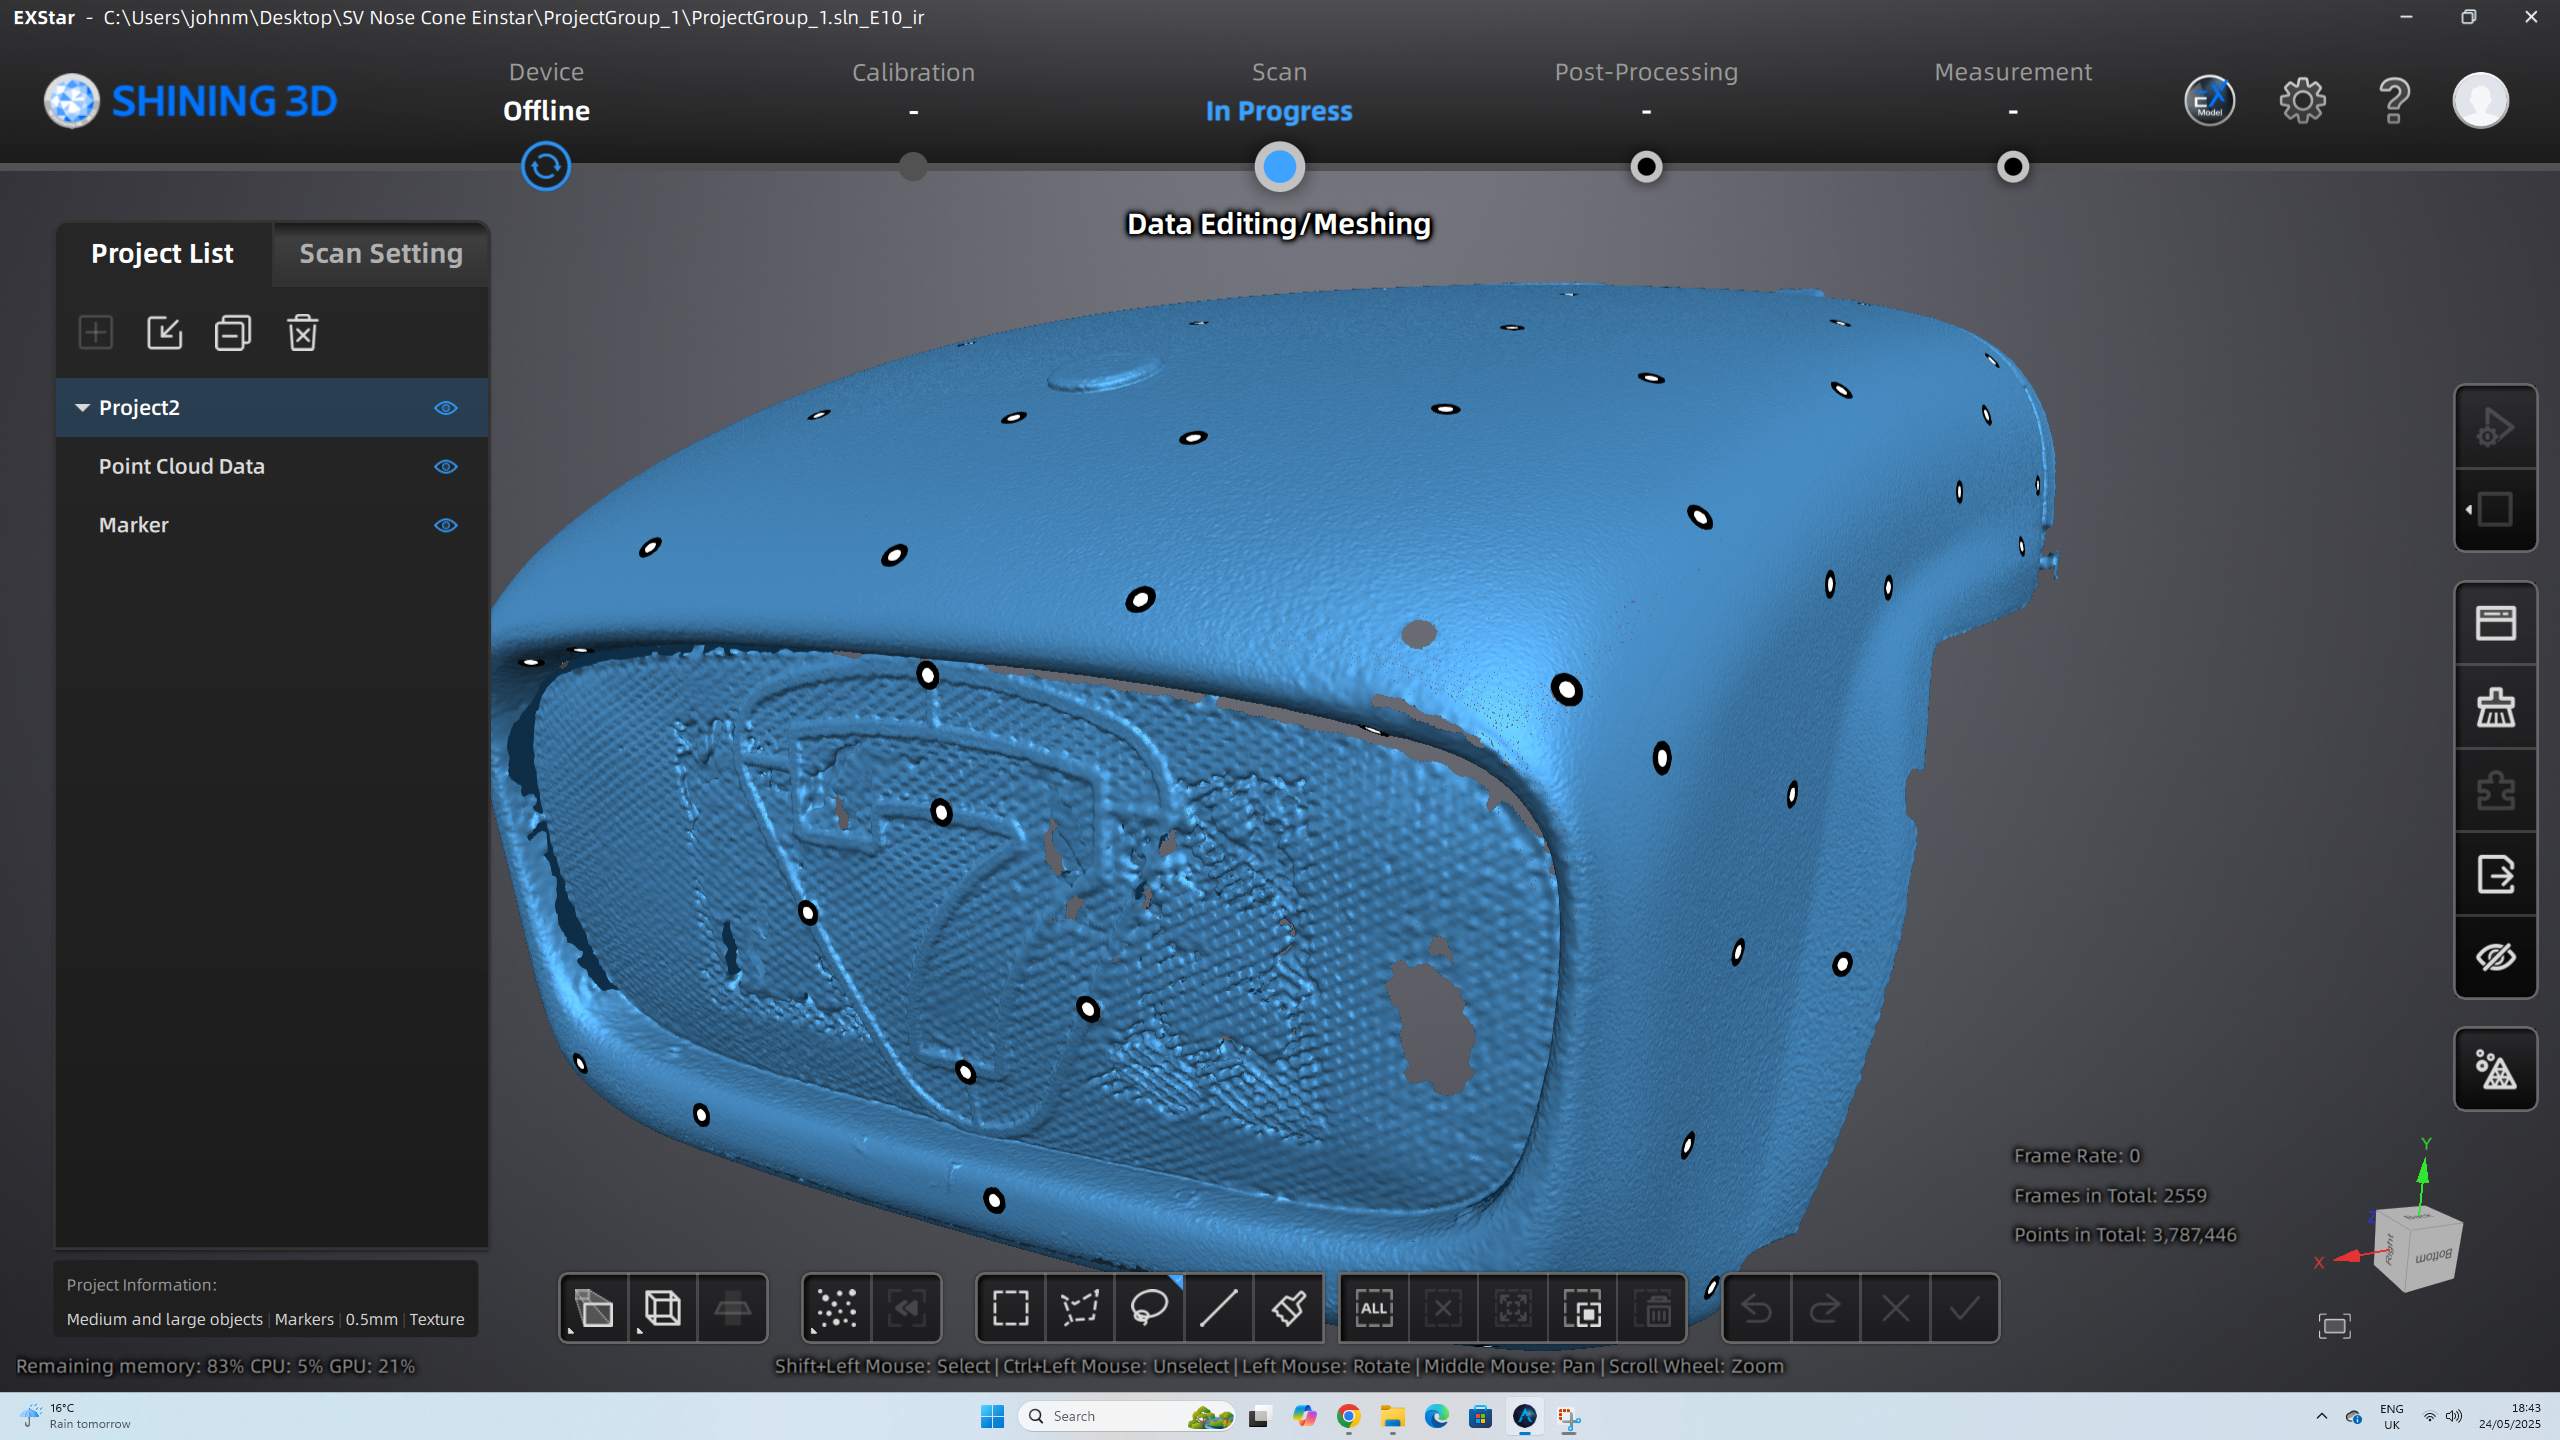
I tried a few different ways of scanning, structure-laser and IR textured/non-textured with the Shining 3D HX and textured IR scanning with the Einstar.
As expected, the structured-laser scan was by far the better scan – as long as I scan in low light and with loads of markers. Next came the rapid and textured scan with the HX. Then propping up the rear was the Einstar. I need to spend more time with the Einstar ‘cos I’m not getting the results I’ve seen others achieve. After scanning the nose cone, I measured across the 7 logo on the front and across the ~200mm the Einstar with 2mm short. The structure-light HX scan was within 0.1mm and the rapid scan about 0.5mm. Though both of those measurements are well within a confirmation-biased measurement and should be taken with a large pinch of salt (I may not be as objective a tester as I should be!).
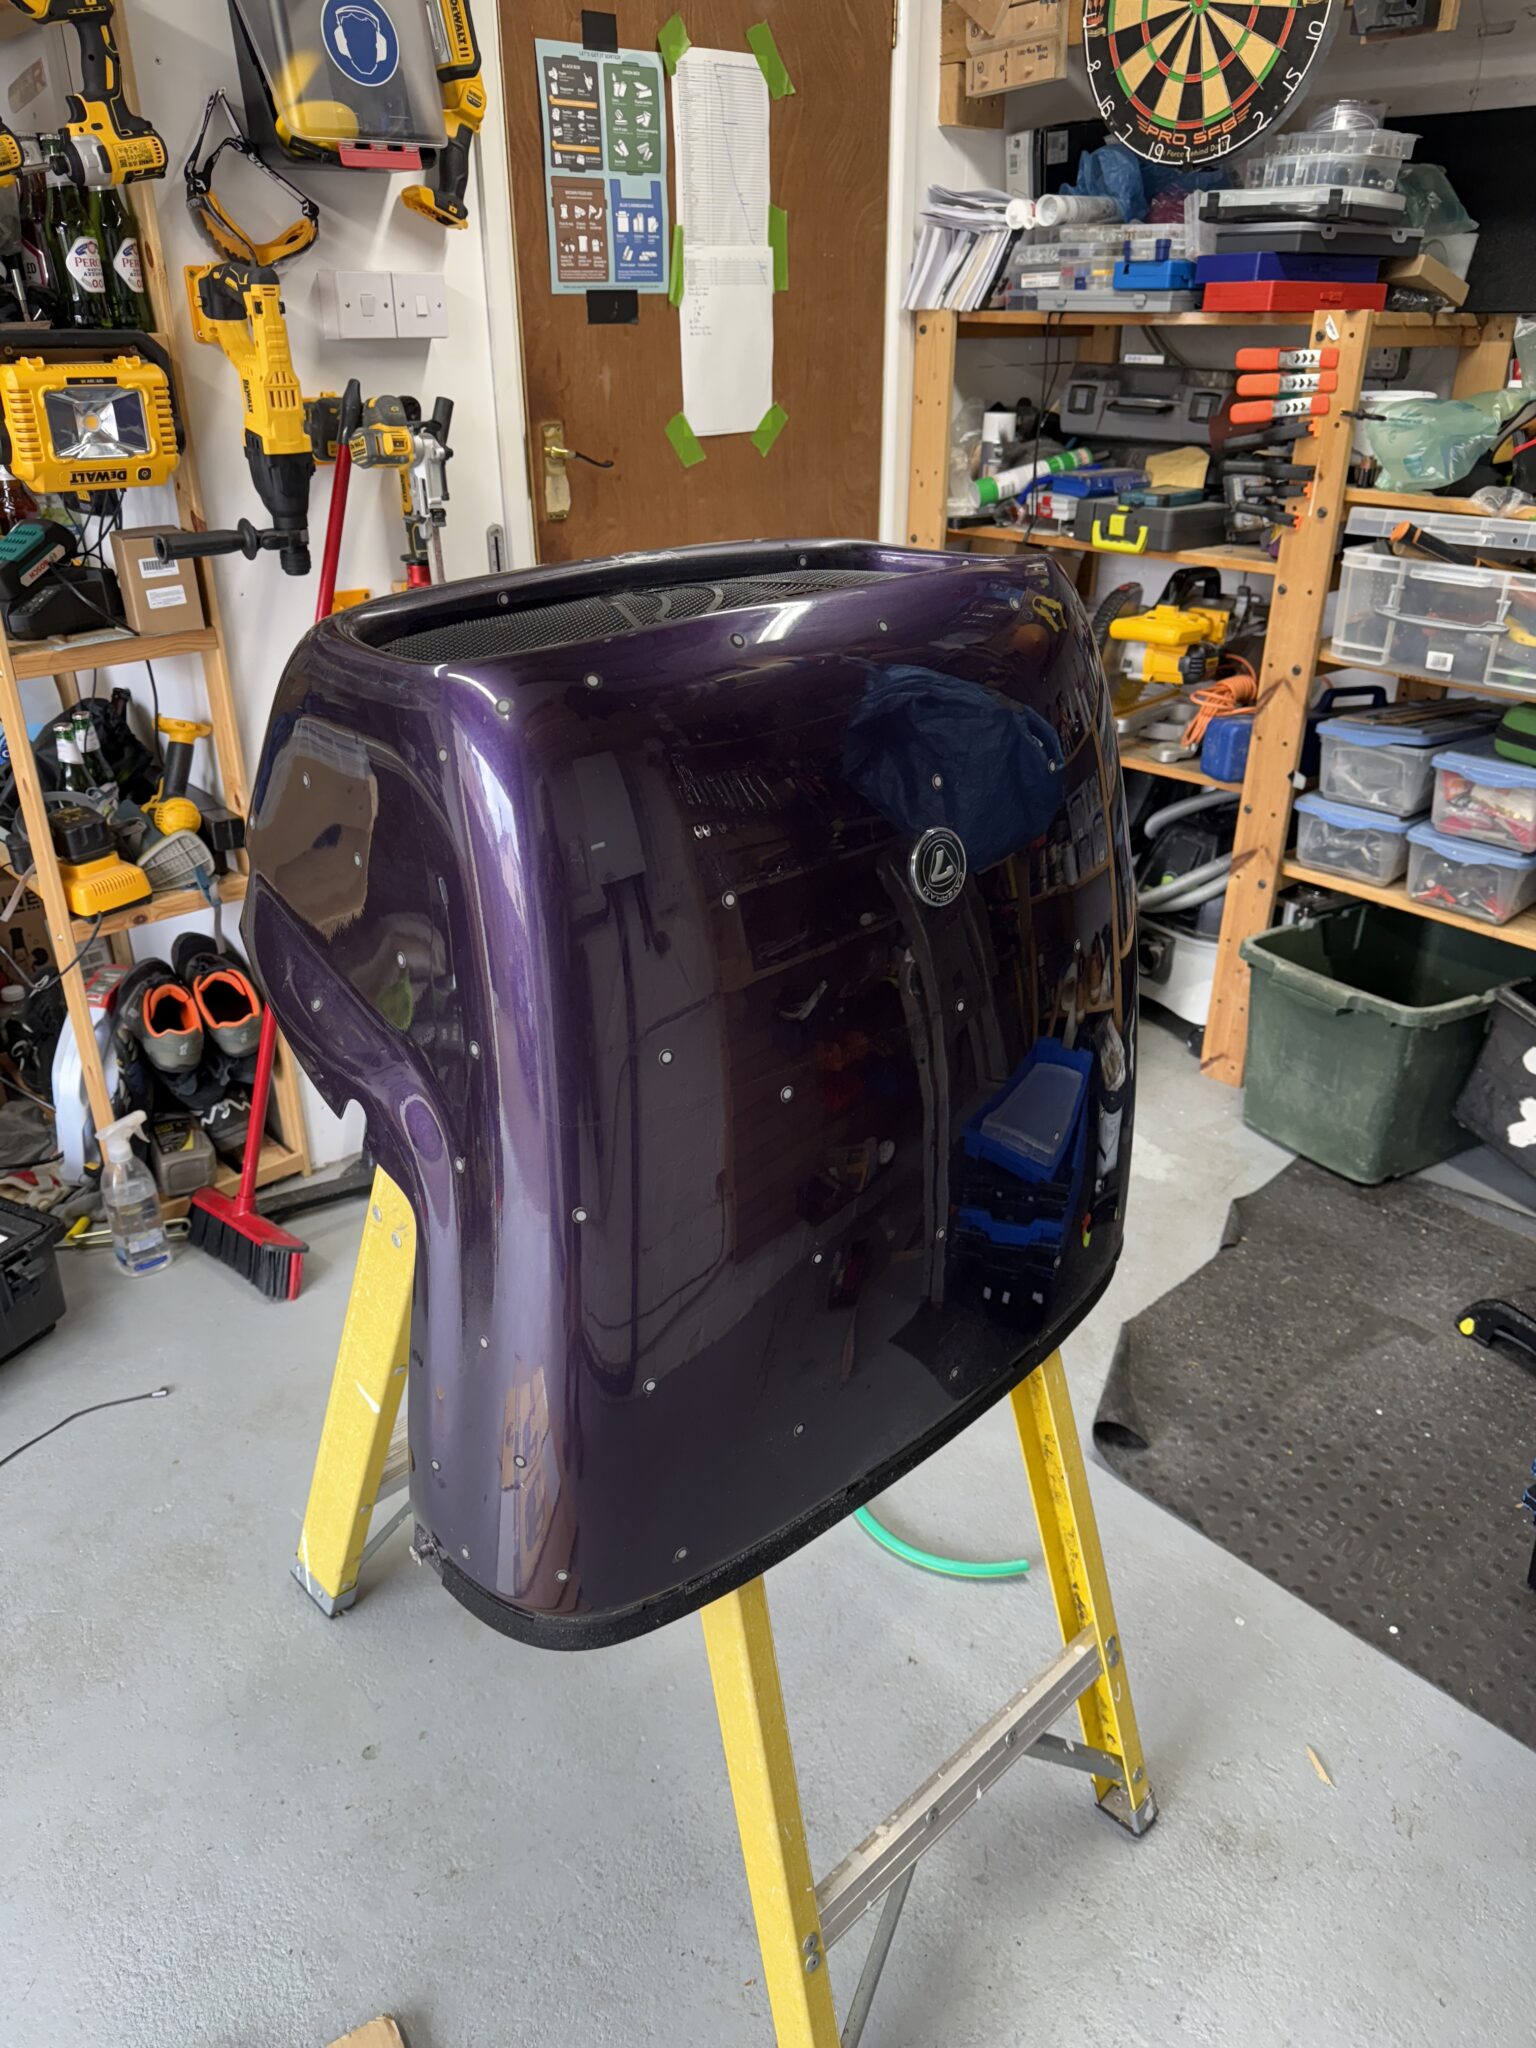
Here’s a picture of the nose-cone covered in scanning markers…
Anyway, here’s the model if you want to download and play with it. There’s higher res. versions if you need one, just let me know. Note, this is just the outer shell.


And here are the models…
This scan isn’t what you might call complete. It’s very hole-y.
What it really needs is a few more scans to fill in the holes. But you get to a point where you’ve had enough really. I did a few scans to start with, to dial in the ambient lighting (needed to be very low) and to decide on whether the metallic paint scanned best as a normal object, black or shiny. Then needed to decide if it needed some scanning spray. In the end I found I got the best results scanning it with some grey fogging spray and on the reflective setting.
So once you’ve spent a couple of hours patting around with all that, I really ought to give up for the day and come back fresh in the morning. But I needed the Seven out of the garage for the scanning and that meant bringing it back in and taking it out again the next day. So I cracked on.
It took about 3 scans to capture the whole of the nose-cone. Plus trying the rapid scanning and the Einstar. So in the end I wasn’t in the mood for hole filling… it’ll be fine for what I need it for. If someone wants to may me a few hundred quid for a full scan, then I now know what settings I’ll need 🙂
Part of the problem is that Shining-3D’s workflow is a bit hit and miss when it comes to jumping from the end of their workflow, i.e. a meshed object, back to the beginning, scanning. Which means by the time I’ve got a fully meshed model (and can see exactly how much data I’ve got) it then becomes a faff to go back to the scanning stage for some fill ins.
Hey ho!
Here are some screenshots of the different scans…

The scanning clearly isn’t helped by the metallic paint on the nose-cone, but the structured light scan is perfectly good enough to pull geometry from and model whatever I want.

Leave a Comment